Description
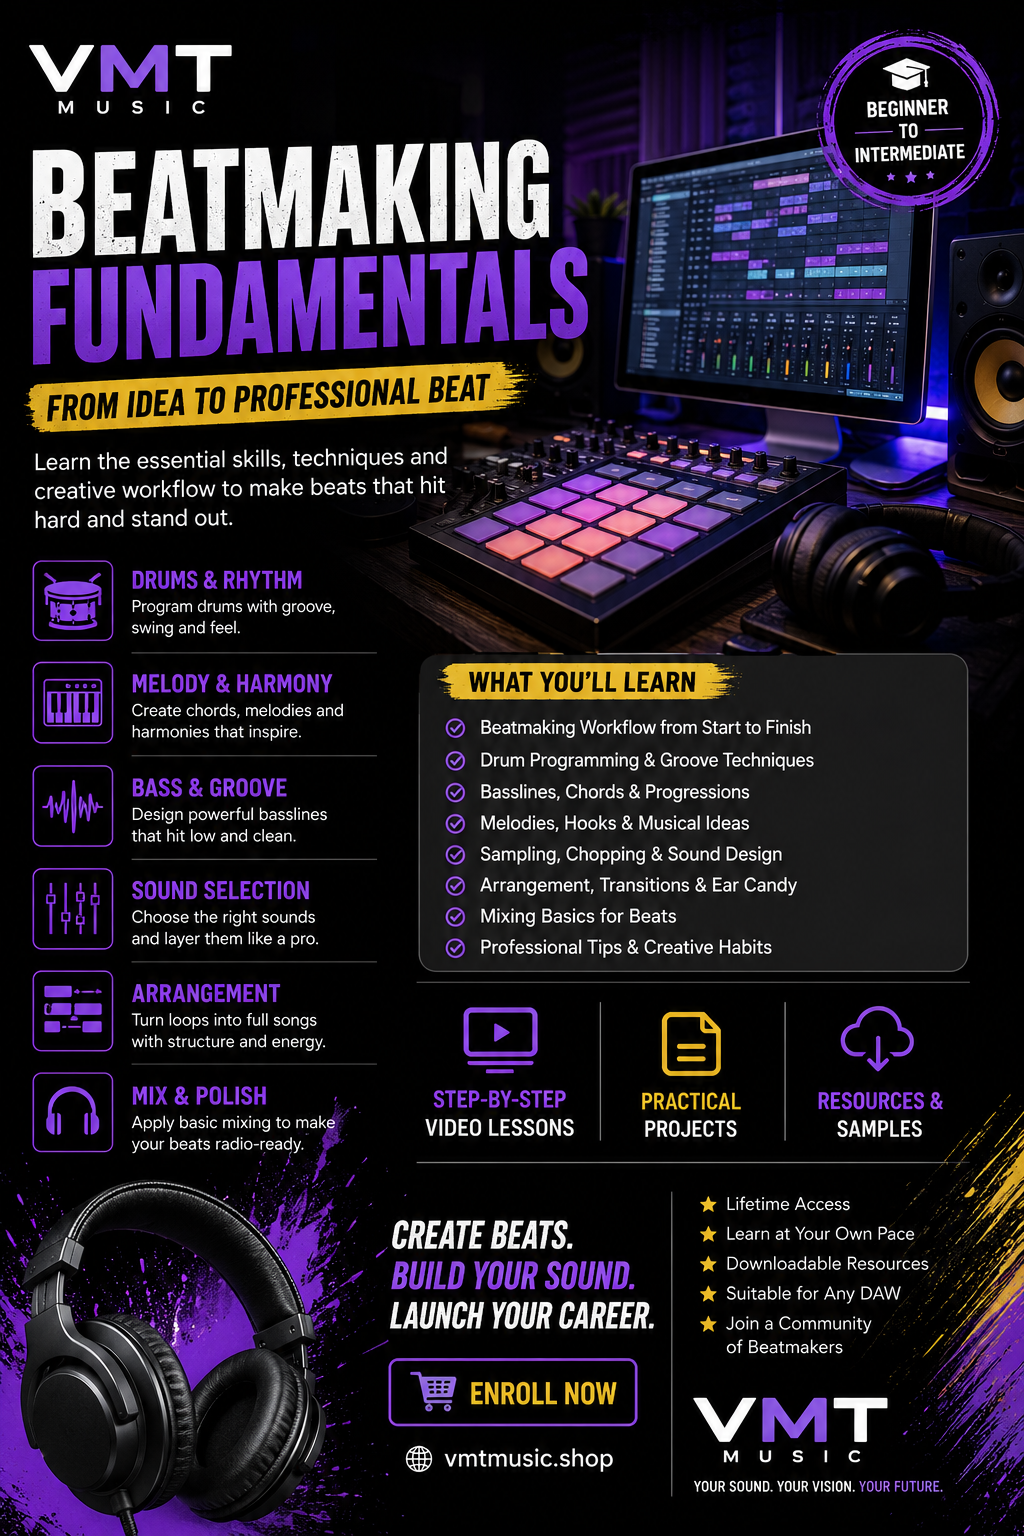
BEATMAKING FUNDAMENTALS
A Practical Guide to Creating Professional Beats
Level: Beginner → Intermediate
Format: Step-by-step lessons + practical exercises + final project
COURSE DESCRIPTION
Beatmaking Fundamentals teaches the complete process of turning a musical idea into a finished beat.
Students learn rhythm, drum programming, basslines, chords, melodies, sound selection, sampling, arrangement, groove, transitions, basic mixing and professional beatmaking workflow.
The course is designed to work with any modern DAW, including FL Studio, Ableton Live, Logic Pro, Cubase, Studio One and similar software.
MODULE 1 — THE BEATMAKER MINDSET
Lesson 1.1 — What Is Beatmaking?
Beatmaking combines:
- Rhythm
- Drums
- Bass
- Harmony
- Melody
- Sound design
- Arrangement
- Musical texture
A great beat is not simply a collection of sounds. Every element should have a purpose.
Lesson 1.2 — Starting With an Idea
Ideas can come from:
- A drum groove
- A melody
- A chord progression
- A bassline
- A sample
- A sound
- A vocal phrase
- A feeling or mood
Exercise
Create a musical idea in 10 minutes without worrying about perfection.
MODULE 2 — DAW FUNDAMENTALS
Lesson 2.1 — Setting Up Your Project
Learn how to:
- Create a project
- Set BPM
- Set time signature
- Create tracks
- Load instruments
- Load samples
- Save versions
- Organize folders
Lesson 2.2 — MIDI and Audio
Understand the difference between:
MIDI: Musical performance information.
Audio: Recorded or rendered sound.
Learn when to use each.
Exercise
Create a blank project and build a simple four-bar idea using MIDI.
MODULE 3 — RHYTHM FUNDAMENTALS
Lesson 3.1 — Understanding the Grid
Learn:
- Bars
- Beats
- Quarter notes
- Eighth notes
- Sixteenth notes
- Triplets
Understanding subdivisions makes drum programming much easier.
Lesson 3.2 — Groove
A beat does not have to be perfectly quantized.
Explore:
- Swing
- Velocity
- Timing variation
- Ghost notes
- Syncopation
Exercise
Create the same drum pattern three ways:
- Fully quantized
- Swung
- Humanized
Compare the groove.
MODULE 4 — DRUM PROGRAMMING
Lesson 4.1 — Kick
The kick establishes pulse and energy.
Consider:
- Frequency
- Length
- Attack
- Decay
- Pattern
- Relationship with bass
Lesson 4.2 — Snare and Clap
Experiment with:
- Backbeats
- Ghost notes
- Layering
- Timing
- Velocity
Lesson 4.3 — Hi-Hats
Learn to create movement with:
- Open hats
- Closed hats
- Rolls
- Velocity changes
- Different note divisions
Lesson 4.4 — Percussion
Add:
- Shakers
- Tambourines
- Rims
- Percussion loops
- Fills
Use percussion to support the groove rather than overcrowd it.
Practical Project
Create a complete four-bar drum groove using only:
- Kick
- Snare
- Hi-hat
- One percussion sound
MODULE 5 — DRUM SOUND SELECTION
Lesson 5.1 — Choosing the Right Sounds
Good beatmaking often starts with good source sounds.
Choose sounds according to:
- Genre
- Frequency
- Character
- Energy
- Musical role
Lesson 5.2 — Layering
Layer sounds when each layer provides something useful.
For example:
Kick Layer 1: Low-end body
Kick Layer 2: Attack
Avoid layering simply because more sounds seem better.
Exercise
Create three different drum kits for the same genre.
MODULE 6 — BASSLINES
Lesson 6.1 — The Role of Bass
Bass connects the rhythm and harmony of a beat.
It should support:
- Kick
- Chords
- Melody
- Overall groove
Lesson 6.2 — Writing Basslines
Experiment with:
- Root notes
- Octaves
- Passing notes
- Rhythmic patterns
- Note length
Lesson 6.3 — Kick and Bass
The kick and bass should work together rather than fight for attention.
Experiment with changing:
- Rhythm
- Octave
- Note length
- Sound selection
- Timing
Exercise
Write three basslines over the same drum pattern.
MODULE 7 — CHORDS AND HARMONY
Lesson 7.1 — Basic Chords
Learn:
- Major
- Minor
- Diminished
- Seventh chords
- Extended chords
Lesson 7.2 — Chord Progressions
Learn how chord changes create emotion and movement.
Experiment with common progressions and then modify them to create your own sound.
Lesson 7.3 — Inversions
Chord inversions can make transitions smoother.
Instead of moving every chord tone dramatically, keep common notes close together.
Exercise
Create one four-chord progression and produce three different versions using inversions.
MODULE 8 — MELODY AND HOOKS
Lesson 8.1 — Melody
Start simple.
A melody can be built from a small number of notes.
Focus on:
- Rhythm
- Repetition
- Contrast
- Register
- Phrasing
Lesson 8.2 — Musical Motifs
Create a short musical phrase and develop it.
For example:
A → C → E
could become the foundation for a longer melodic idea.
Lesson 8.3 — Call and Response
Create:
Question → Answer
This technique can make melodies feel conversational.
Exercise
Write a memorable eight-bar melody using a limited number of notes.
MODULE 9 — SOUND SELECTION
Lesson 9.1 — Choosing Sounds
Choose sounds according to their role.
Ask:
What does this sound contribute?
It could provide:
- Rhythm
- Bass
- Harmony
- Melody
- Texture
- Atmosphere
- Energy
Lesson 9.2 — Avoiding Sound Clutter
Too many sounds can make a beat weaker.
A strong beat often leaves room.
Exercise
Create a beat using only 10 carefully selected sounds.
MODULE 10 — BASIC SYNTHESIS
Lesson 10.1 — Oscillators
Understand basic waveforms:
- Sine
- Triangle
- Saw
- Square
Lesson 10.2 — Filters
Learn how filters shape frequency content.
Lesson 10.3 — Envelopes
Understand:
- Attack
- Decay
- Sustain
- Release
Lesson 10.4 — Modulation
Explore:
- LFOs
- Pitch modulation
- Filter modulation
- Volume modulation
Exercise
Create a simple bass, pad and lead sound from basic waveforms.
MODULE 11 — SAMPLING
Lesson 11.1 — Finding Useful Samples
Learn to listen for:
- Interesting melodies
- Rhythms
- Textures
- Chords
- Vocal phrases
- Drums
Lesson 11.2 — Editing Samples
Practice:
- Trimming
- Fading
- Pitch shifting
- Time stretching
- Reversing
Lesson 11.3 — Sample Chopping
Turn one sample into a new musical performance.
Experiment with rearranging individual sections.
Exercise
Take one sample and create three completely different beat ideas from it.
MODULE 12 — ARRANGEMENT
Lesson 12.1 — From Loop to Song
A loop is not a complete song.
Turn the loop into sections such as:
- Intro
- Verse
- Pre-chorus
- Chorus
- Bridge
- Breakdown
- Outro
Not every song needs every section.
Lesson 12.2 — Creating Contrast
Change:
- Drum density
- Bass
- Melody
- Chords
- Instrumentation
- Effects
- Volume
- Octave
Lesson 12.3 — Energy
Think of the arrangement as an energy curve.
Low → Build → High → Release → Build → Peak
Exercise
Take a four-bar loop and turn it into a complete three-minute arrangement.
MODULE 13 — TRANSITIONS
Transitions help listeners understand that the song is moving into a new section.
Use:
- Drum fills
- Risers
- Impacts
- Reverse sounds
- Filter sweeps
- Silence
- Snare rolls
- Cymbal crashes
Exercise
Create five different transitions between a verse and chorus.
MODULE 14 — EAR CANDY
Ear candy consists of small details that make a production interesting.
Examples:
- Vocal chops
- Reverse effects
- Short fills
- Percussion variations
- Synth effects
- Background textures
- One-time sounds
Use ear candy strategically.
If every bar contains an effect, nothing feels special.
MODULE 15 — GROOVE AND HUMAN FEEL
Lesson 15.1 — Velocity
Velocity controls how strongly MIDI notes are played.
Use velocity to create:
- Accents
- Movement
- Dynamics
- Natural performance
Lesson 15.2 — Timing
Perfect timing is not always the goal.
Small timing differences can create feel.
Exercise
Create a hi-hat pattern with deliberately varied velocity and timing.
Compare it with a completely quantized version.
MODULE 16 — BEATMAKING WORKFLOW
Use this workflow:
STEP 1
Choose an idea.
STEP 2
Set the tempo.
STEP 3
Build the drums.
STEP 4
Write the bass.
STEP 5
Add chords.
STEP 6
Create a melody or hook.
STEP 7
Select and shape sounds.
STEP 8
Build the arrangement.
STEP 9
Add transitions and ear candy.
STEP 10
Perform a basic mix.
STEP 11
Reference the beat.
STEP 12
Revise.
STEP 13
Export.
MODULE 17 — BASIC BEAT MIXING
Lesson 17.1 — Volume
Start with faders.
Create a strong balance before adding heavy processing.
Lesson 17.2 — Panning
Use the stereo field to create separation.
Lesson 17.3 — EQ
Use EQ to:
- Remove unwanted frequencies
- Create separation
- Shape tone
Lesson 17.4 — Compression
Use compression when it helps:
- Control dynamics
- Add punch
- Stabilize a sound
- Shape groove
Lesson 17.5 — Headroom
Avoid unnecessary clipping throughout the session.
MODULE 18 — REFERENCE LISTENING
Choose professional tracks that are relevant to your genre.
Compare:
- Drum energy
- Bass level
- Arrangement
- Stereo width
- Brightness
- Density
- Dynamics
Do not copy the reference.
Use it to develop perspective.
MODULE 19 — FINISHING A BEAT
Before exporting, check:
- Arrangement
- Drum balance
- Bass
- Melody
- Transitions
- Unwanted noise
- Clipping
- Stereo image
- Low-end balance
Listen:
- Loud
- Quiet
- On headphones
- On speakers
- On a small speaker
- In mono
MODULE 20 — PROFESSIONAL BEATMAKING HABITS
Develop these habits:
- Save multiple versions.
- Organize your samples.
- Name your projects clearly.
- Finish ideas instead of endlessly starting new ones.
- Take breaks.
- Reference professional productions.
- Learn your DAW shortcuts.
- Build your own sound library.
- Experiment regularly.
- Protect your creative momentum.
FINAL PROJECT
CREATE A COMPLETE ORIGINAL BEAT
Starting from an empty project, create a complete beat.
Required Elements
- Drum groove
- Kick
- Snare/clap
- Hi-hats
- Percussion
- Bassline
- Chord progression
- Melody or hook
- Arrangement
- Transitions
- Ear candy
- Basic mix
Minimum Arrangement
Create at least:
- Intro
- Main section
- Variation
- Main/chorus section
- Breakdown or bridge
- Final section
- Outro
FINAL ASSIGNMENT
Create a 2–4 minute original beat.
Submit:
- Full stereo beat
- Instrumental version
- Stems
- Project file
- Short production notes
Production Notes
Explain:
- BPM
- Key
- Main inspiration
- Drum approach
- Bass approach
- Chord progression
- Main melody
- Sound selection
- Arrangement decisions
- Mixing decisions
BEATMAKING CHECKLIST
- The main idea is clear
- The drum groove feels good
- Kick and bass work together
- The bass supports the harmony
- The melody is memorable
- The sounds fit together
- The arrangement develops
- Sections have contrast
- Transitions are effective
- There is enough space
- The beat is not overcrowded
- The stereo image is controlled
- The low end translates
- There is no unnecessary clipping
- The final beat has been checked on multiple systems
FINAL EXAM
THEORY
Answer:
- What is groove?
- What is swing?
- Why is velocity important?
- What is the role of the kick?
- How does bass interact with drums?
- What is a chord progression?
- What is voice leading?
- What makes a melody memorable?
- What is sampling?
- Why is arrangement important?
PRACTICAL
Create a complete beat from an empty DAW session within a defined time limit.
The final beat should demonstrate:
Rhythm + Harmony + Melody + Sound Selection + Groove + Arrangement + Production
COURSE OUTCOME
After completing Beatmaking Fundamentals, students should be able to take a simple musical idea and develop it into a complete, structured and production-ready beat.
The central philosophy of the course is:
Start with the idea. Build the groove. Create space. Develop the arrangement. Finish the music.
BEATMAKING FUNDAMENTALS
Learn. Create. Produce.


Reviews
There are no reviews yet.