Description
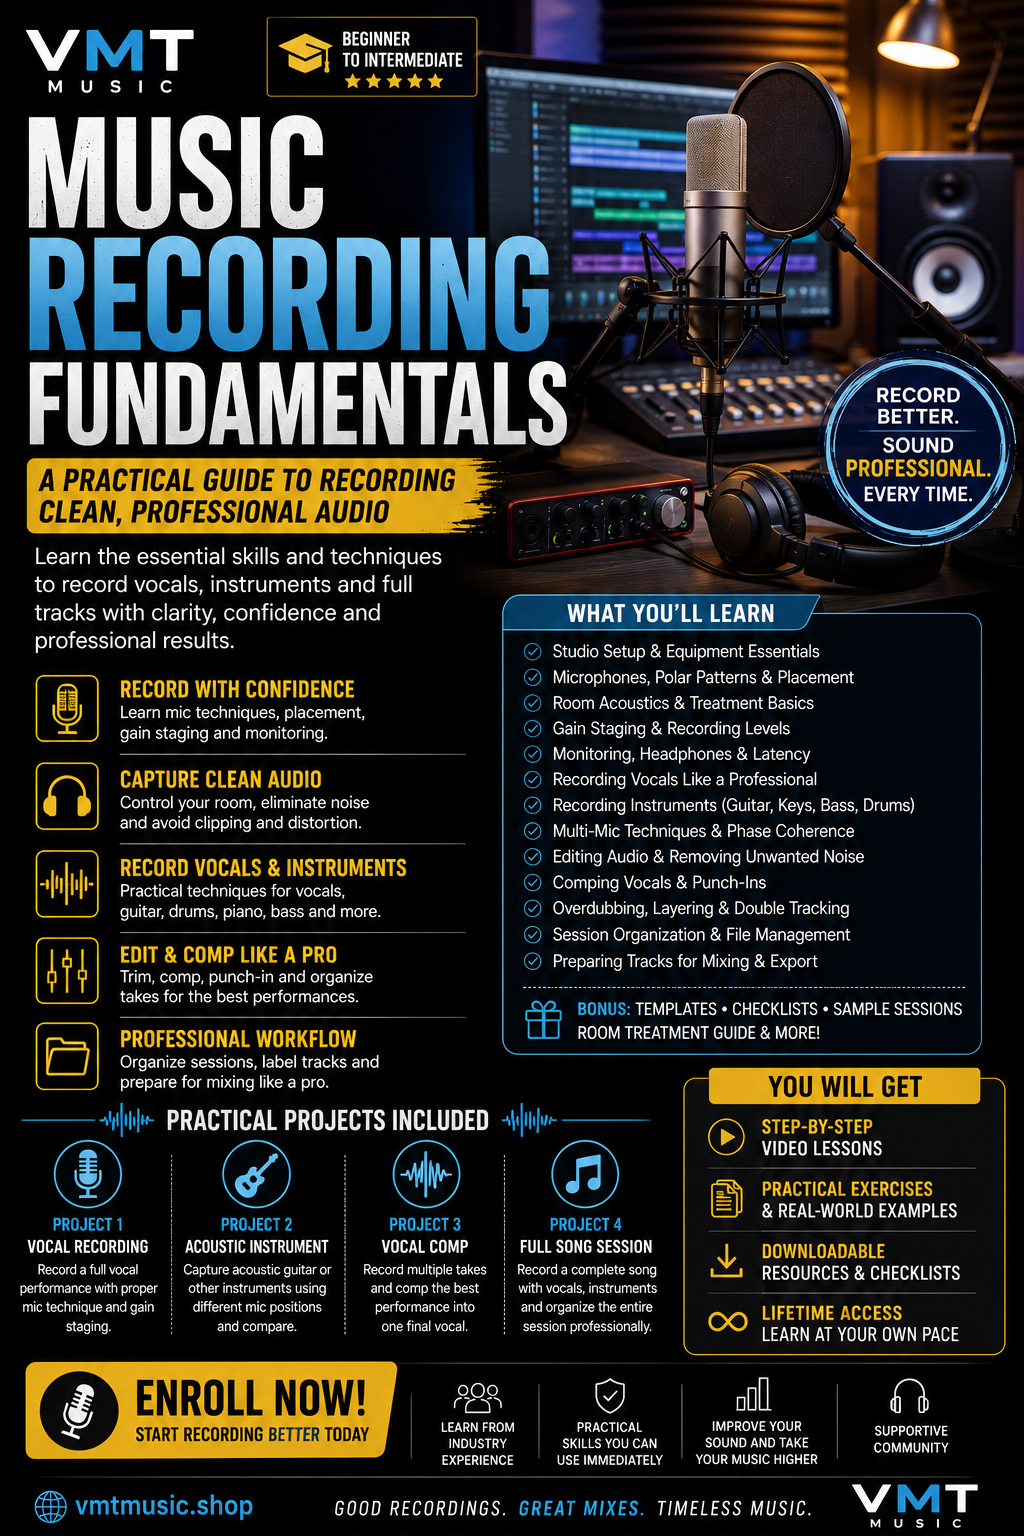
MUSIC RECORDING FUNDAMENTALS
A Practical Guide to Recording Clean, Professional Audio
Level: Beginner → Intermediate
Format: Step-by-step lessons • Practical exercises • Recording projects
Software: Any modern DAW
Focus: Home studio, vocal, instrument and music recording
Course Description
Music Recording Fundamentals teaches the complete recording process—from setting up a recording session and choosing microphones to capturing vocals and instruments, editing takes, managing gain, comping performances and preparing tracks for mixing.
By the end, students will understand how to record clean, musical and professional-quality audio, even in a home studio.
MODULE 1 — UNDERSTANDING AUDIO RECORDING
Lesson 1.1 — What Is Recording?
Understand the difference between:
- Recording
- Editing
- Mixing
- Mastering
Learn why a strong recording makes every later production stage easier.
Lesson 1.2 — Analog and Digital Audio
Learn the fundamentals of:
- Microphones
- Preamps
- Audio interfaces
- Converters
- DAWs
- Digital audio files
MODULE 2 — YOUR RECORDING STUDIO
Lesson 2.1 — Essential Equipment
Understand the purpose of:
- Computer
- DAW
- Audio interface
- Microphone
- Headphones
- Studio monitors
- Microphone stand
- Pop filter
- Cables
Lesson 2.2 — Building a Budget Studio
Learn how to prioritize equipment instead of buying unnecessary gear.
Exercise: Design a basic recording setup within a fixed budget.
MODULE 3 — ROOM ACOUSTICS
Lesson 3.1 — Why the Room Matters
Your microphone records both the performer and the acoustic environment.
Learn about:
- Reflections
- Reverberation
- Standing waves
- Low-frequency buildup
- Background noise
Lesson 3.2 — Improving a Home Recording Space
Explore practical approaches using:
- Acoustic treatment
- Absorption
- Reflection control
- Strategic microphone placement
MODULE 4 — MICROPHONE FUNDAMENTALS
Lesson 4.1 — Microphone Types
Understand:
- Dynamic microphones
- Condenser microphones
- Ribbon microphones
Lesson 4.2 — Polar Patterns
Learn:
- Cardioid
- Omnidirectional
- Figure-8
- Other directional patterns
Understand how microphone direction affects the recording.
Exercise
Record the same sound using different microphone positions and compare the results.
MODULE 5 — MICROPHONE PLACEMENT
Microphone placement dramatically affects tone.
Experiment with:
- Distance
- Angle
- Height
- Position
- Room orientation
Learn the proximity effect and how changing distance can alter the sound.
Exercise
Record a vocal at three different microphone distances and compare the recordings.
MODULE 6 — GAIN STAGING
Lesson 6.1 — Recording Levels
Learn how to set appropriate input levels before recording.
Understand:
- Input gain
- Headroom
- Clipping
- Noise floor
- Digital meters
Lesson 6.2 — Avoiding Clipping
Never depend on fixing badly clipped recordings later.
Exercise: Set recording levels for a loud and quiet performance while maintaining safe headroom.
MODULE 7 — SAMPLE RATE & BIT DEPTH
Understand:
- Sample rate
- Bit depth
- WAV
- AIFF
- MP3
- Lossy vs lossless audio
Learn how recording settings affect workflow and delivery.
MODULE 8 — HEADPHONES & MONITORING
Lesson 8.1 — Headphone Mixes
A performer needs to hear what helps them perform.
Create headphone mixes with:
- Lead vocal
- Instrumental
- Click
- Reverb
- Cue effects
Lesson 8.2 — Latency
Understand recording latency and ways to reduce monitoring problems.
MODULE 9 — RECORDING VOCALS
Lesson 9.1 — Preparing the Singer
Before recording:
- Check microphone position
- Set gain
- Prepare lyrics
- Test headphones
- Establish monitoring
- Warm up
Lesson 9.2 — Vocal Performance
Focus on:
- Pitch
- Timing
- Emotion
- Dynamics
- Pronunciation
- Consistency
Lesson 9.3 — Multiple Takes
Record multiple takes without exhausting the performer.
MODULE 10 — RECORDING ACOUSTIC GUITAR
Explore microphone placement for:
- Bright tone
- Warm tone
- Full tone
- Stereo recording
Understand how room sound affects acoustic guitar recordings.
Exercise
Record the same guitar performance from two different microphone positions.
MODULE 11 — RECORDING ELECTRIC GUITAR
Learn about:
- Amplifier placement
- Microphone position
- Speaker cone position
- Close miking
- Room microphones
- DI recording
Explore how small microphone movements can dramatically change guitar tone.
MODULE 12 — RECORDING KEYBOARDS & MIDI
Understand the difference between:
MIDI performance and audio recording.
Learn how to record:
- Digital piano
- Synthesizers
- MIDI controllers
- Hardware instruments
MODULE 13 — RECORDING DRUMS
Lesson 13.1 — Drum Recording Basics
Understand microphone roles for:
- Kick
- Snare
- Toms
- Overheads
- Room microphones
Lesson 13.2 — Phase
Learn why microphone phase relationships matter when using multiple microphones.
Exercise
Build a simple multi-microphone drum recording setup and check it in mono.
MODULE 14 — RECORDING BASS
Explore:
- DI recording
- Bass amplifier
- Microphone recording
- DI + amp combinations
Learn how to capture both clean low end and character.
MODULE 15 — RECORDING PERCUSSION
Learn recording techniques for:
- Shakers
- Tambourines
- Congas
- Bongos
- Hand percussion
Focus on microphone placement and room interaction.
MODULE 16 — RECORDING TECHNIQUES
Explore:
- Mono recording
- Stereo recording
- Close miking
- Room miking
- Overdubbing
- Layering
- Double tracking
Understand when each technique makes sense.
MODULE 17 — SESSION ORGANIZATION
Create professional sessions with:
- Track names
- Track colors
- Markers
- Groups
- Buses
- Templates
- File naming
A well-organized session saves time and prevents mistakes.
MODULE 18 — EDITING AUDIO
Learn to:
- Trim clips
- Create fades
- Remove unwanted noise
- Align takes
- Tighten timing
- Correct obvious mistakes
Editing should preserve the performance rather than remove its character.
MODULE 19 — COMPING VOCALS
Learn how to combine the strongest sections from multiple performances.
Workflow
Record → Label Takes → Evaluate → Select → Comp → Edit → Review
Avoid choosing every take solely because it is technically perfect; emotion and delivery matter.
MODULE 20 — PUNCH-INS & OVERDUBBING
Learn how to replace specific sections without recording the entire performance again.
Use punch-ins carefully to maintain:
- Tone consistency
- Timing
- Performance energy
- Microphone position
MODULE 21 — RECORDING VOCAL HARMONIES
Create:
- Doubles
- Harmonies
- Background vocals
- Ad-libs
Learn how to organize multiple vocal performances for later mixing.
MODULE 22 — RECORDING CLEAN AUDIO
Identify common recording problems:
- Background noise
- Electrical hum
- Room reflections
- Plosives
- Sibilance
- Distortion
- Clipping
- Handling noise
Learn how to prevent problems before pressing Record.
MODULE 23 — RECORDING WORKFLOW
Use this professional workflow:
STEP 1
Prepare the room.
STEP 2
Set up equipment.
STEP 3
Create the DAW session.
STEP 4
Connect the microphone/instrument.
STEP 5
Set input gain.
STEP 6
Check monitoring.
STEP 7
Record a test.
STEP 8
Listen critically.
STEP 9
Record multiple takes.
STEP 10
Review performances.
STEP 11
Comp and edit.
STEP 12
Organize the session.
STEP 13
Export clean tracks for mixing.
MODULE 24 — PREPARING TRACKS FOR MIXING
Before handing a session to a mix engineer:
- Name tracks correctly
- Remove unnecessary recordings
- Organize takes
- Consolidate where appropriate
- Check timing
- Check clicks and pops
- Label effects
- Confirm sample rate
- Export clean stems
PRACTICAL PROJECTS
PROJECT 1 — VOCAL RECORDING
Record a complete vocal performance using proper:
- Microphone placement
- Gain staging
- Headphone monitoring
- Multiple takes
PROJECT 2 — ACOUSTIC INSTRUMENT
Record an acoustic guitar or another acoustic instrument using two different microphone positions.
Compare the tone.
PROJECT 3 — VOCAL COMP
Record at least three vocal takes and create one final comp.
Document why each section was selected.
PROJECT 4 — FULL RECORDING SESSION
Record a complete song containing:
- Lead vocal
- Instrumental
- At least one live or acoustic instrument
- Background vocals or additional layers
Organize the entire DAW session professionally.
FINAL PROJECT
RECORD A COMPLETE SONG
Starting with an empty session, produce a professional recording session from setup to final edited tracks.
Required:
- Proper room preparation
- Correct microphone selection
- Correct microphone placement
- Gain staging
- Headphone monitoring
- Multiple performances
- Comping
- Editing
- Session organization
- Exported tracks
FINAL CHECKLIST
Before finishing a recording session:
- Room is quiet
- Microphone is positioned correctly
- Input gain is safe
- No clipping
- Headphone mix is comfortable
- Performer can hear the track
- Multiple takes have been recorded
- Best performances are selected
- Noise has been controlled
- Fades are clean
- Tracks are named
- Files are organized
- Recordings have been backed up
- Tracks are ready for mixing
FINAL EXAM
THEORY
Explain:
- What is gain staging?
- What is headroom?
- What is microphone polar pattern?
- What is the proximity effect?
- What is sample rate?
- What is bit depth?
- What causes clipping?
- Why does microphone placement matter?
- What is comping?
- Why is room acoustics important?
PRACTICAL
Record and edit one complete song while demonstrating professional recording workflow from setup through export.
COURSE OUTCOME
After completing Music Recording Fundamentals, students should be able to confidently set up a recording session, choose and position microphones, capture vocals and instruments, manage recording levels, edit performances and deliver clean tracks ready for mixing.
Great recordings start before you press Record.
VMT MUSIC
RECORD CLEAN. PERFORM GREAT. CREATE MUSIC.
Reviews
There are no reviews yet.